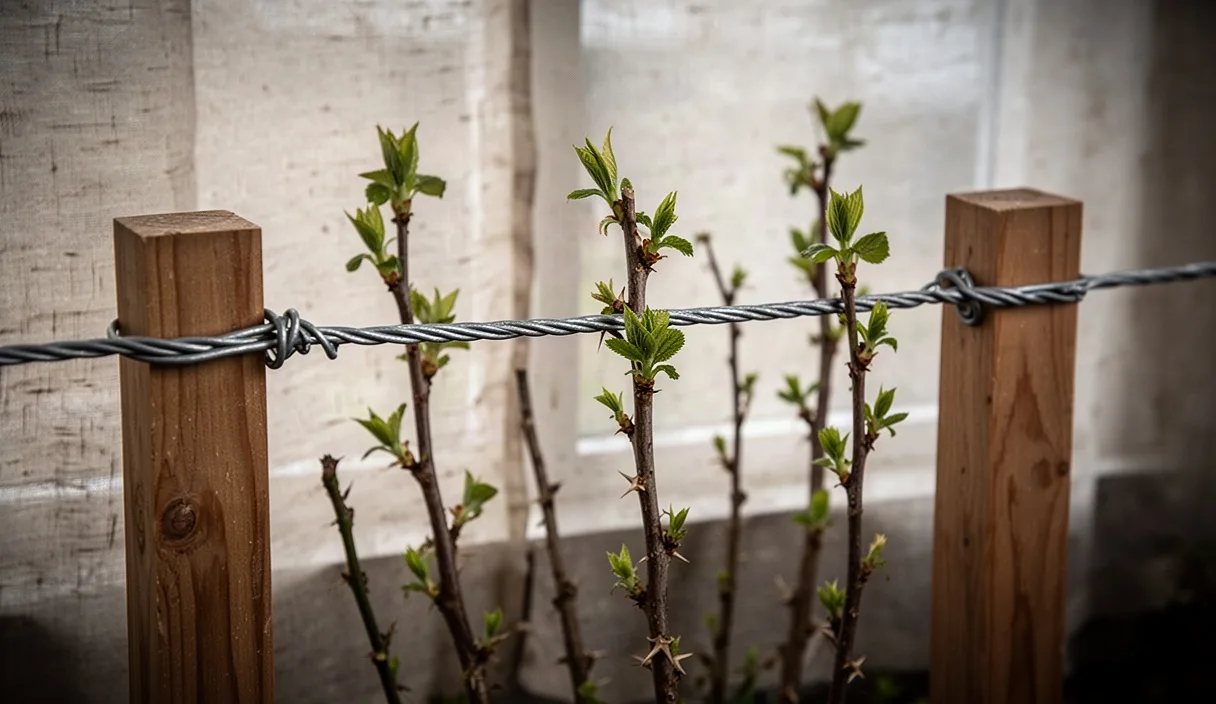
Anyone who has walked down the back lane behind the allotments after three days of steady autumn drizzle knows what happens to untamed brambles. Unmanaged canes quickly collapse into a sodden heap on the wet grass, pulling down healthy fruit and inviting rot from the clay soil below. Cane berries such as raspberries, blackberries, tayberries, and loganberries are vigorous, unruly growers that produce heavy foliage and heavy yields. Left to their own devices, they scramble over paths, crowd out light, and become impossible to pick without lacerating your forearms on thorny stems.
A post and wire trellis brings order, structure, and sanity to the berry bed. By lifting the canes up into the wind and the sunlight, you keep the ripening fruit off damp soil and give the plants the physical support they need when laden with fruit in late July or beaten by gusts in September. Setting up a durable post and wire system takes an afternoon of honest digging and wire-pulling, but it pays dividends for a decade or more. With the right post depths, wire gauges, and cane spacing, your fruit rows will stay tidy, productive, and straightforward to harvest year after year.
Distinguishing summer fruiting floricanes from autumn primocanes
Before you drive a single timber post into the ground or tie in a single cane, you must understand the two distinct fruiting habits of the Rubus family. Cane berries are perennials at root level, but their individual stems are strictly biennial. This means an individual shoot lives for only two seasons. How a plant crops across those two seasons dictates precisely how you train and prune it against your trellis wires.
Summer-fruiting raspberries like Glen Ample, Tulameen, and Malling Jewel, along with cultivated blackberries, produce their crop on floricanes. These are two-year-old stems that grew vegetative wood during the previous summer, survived the winter chill, and then burst into flower and fruit during June and July. Beside them, fresh green primocanes shoot up from the root crown during spring, gaining height through the summer without flowering. If you cut down green primocanes by mistake, you eliminate next year's fruit harvest entirely. Summer-fruiting canes require a permanent wire system because you must carry both current fruiting wood and next year's green replacements simultaneously on the same frame.
Autumn-fruiting varieties such as Autumn Bliss, Joan J, and Polka follow a simpler primocane fruiting cycle. Their roots send up fresh stems in March and April, and those same stems flower and fruit toward their tips by late August, September, and into the first frost. Because they produce fruit on first-year growth, you do not need to separate two distinct generations of canes during the summer. Autumn varieties can be held securely between parallel wires to prevent wind-rock, and the entire row can be pruned flush to the soil surface in mid-winter once the harvest is done.
| Berry Type |
Cane Bearing Fruit |
Harvest Window |
Pruning Approach |
| Summer Raspberry |
Floricane (second-year wood) |
Late June to late July |
Cut spent canes to the ground after harvest; tie in new green shoots. |
| Autumn Raspberry |
Primocane (first-year wood) |
Late August to late October |
Cut every cane down to ground level in late winter. |
| Blackberry and Hybrid Berries |
Floricane (second-year wood) |
July through September |
Bundle new shoots to one side; remove old wood after cropping. |
Recognising which type you are growing saves you from costly pruning errors. If you inherit an unlabelled fruit patch, watch the canes over one full cycle. If green shoots flower at the tips in late August, treat them as autumn primocanes. If long stems spend a whole summer growing without producing a single bloom, they are floricanes preparing to crop the following summer.
Driving sturdy end posts and tensioning two wire runs
A trellis is only as strong as its end posts. When summer storms sweep across open plots, a row of fully leaved canes acts like a sail catching the gale. Add the weight of several kilograms of ripening berries per metre, plus waterlogged ground, and weak stakes will quickly tilt or snap at the soil line. You must build your framework with substantial, pressure-treated timber that can handle heavy tension without leaning inward.
Choose round timber posts that are 75mm to 100mm in diameter, or square posts measuring 75mm by 75mm, with an overall length of 2.4 metres. For a standard domestic row between 4 and 10 metres long, drive the end posts into the ground to a depth of 60cm, leaving 1.8 metres standing above the surface. In soft, loose, or wet loamy soils, sink them 70cm to guarantee stability. Dig the hole with a narrow post-hole spade or an auger rather than loosening unnecessary ground, and tamp down clay and gravel around the base in firm 10cm layers. To counteract the pull of the wires, brace each end post with an angled strut set at a 45-degree angle against the inner face, notched into the post about two-thirds of the way up.
Intermediate posts can be slightly lighter, around 60mm to 75mm in diameter, spaced roughly 3 metres apart along the row. Once the upright timbers are plumb and firm in the soil, install two runs of heavy-gauge galvanised wire. Thin plastic cord or soft garden string will sag or perish under UV light within months, while cheap thin wire cuts into stems.
- Setting the bottom wire height: Drill an 8mm hole through the posts at 75cm to 80cm above the soil line, or drive heavy galvanised staples partially into the wood. This lower run supports the midsection of growing canes and prevents them bowing out into the path.
- Setting the top wire height: Position the top wire run between 150cm and 160cm from the ground. This holds the upper stems and keeps fruiting laterals at an ergonomic picking height.
- Fixing wire strainers: Fit a mechanical wire strainer or ratchet tensioner on each wire run at one terminal end post. Secure the wire on the opposite post by wrapping it twice around the timber and securing it with two galvanised fencing staples driven firmly home.
- Tensioning the line: Thread high-tensile 2.5mm galvanised steel wire through any intermediate staples or guide holes, attach it to the ratchet barrel, and tighten with an adjustable spanner. The wire should emit a dull, low thrum when plucked, showing zero visible slack along the span.
Spacing canes evenly using biodegradable twine
Once the post and wire line is tight and level, you can begin the work of attaching the canes. It is tempting to grab handfuls of shoots and lash them to the wires in thick bunches to save time. This is a false economy. Clumping canes restricts light penetration, starves lower lateral shoots of sun, and creates tight pockets where dampness collects, ruining berries before they ripen.
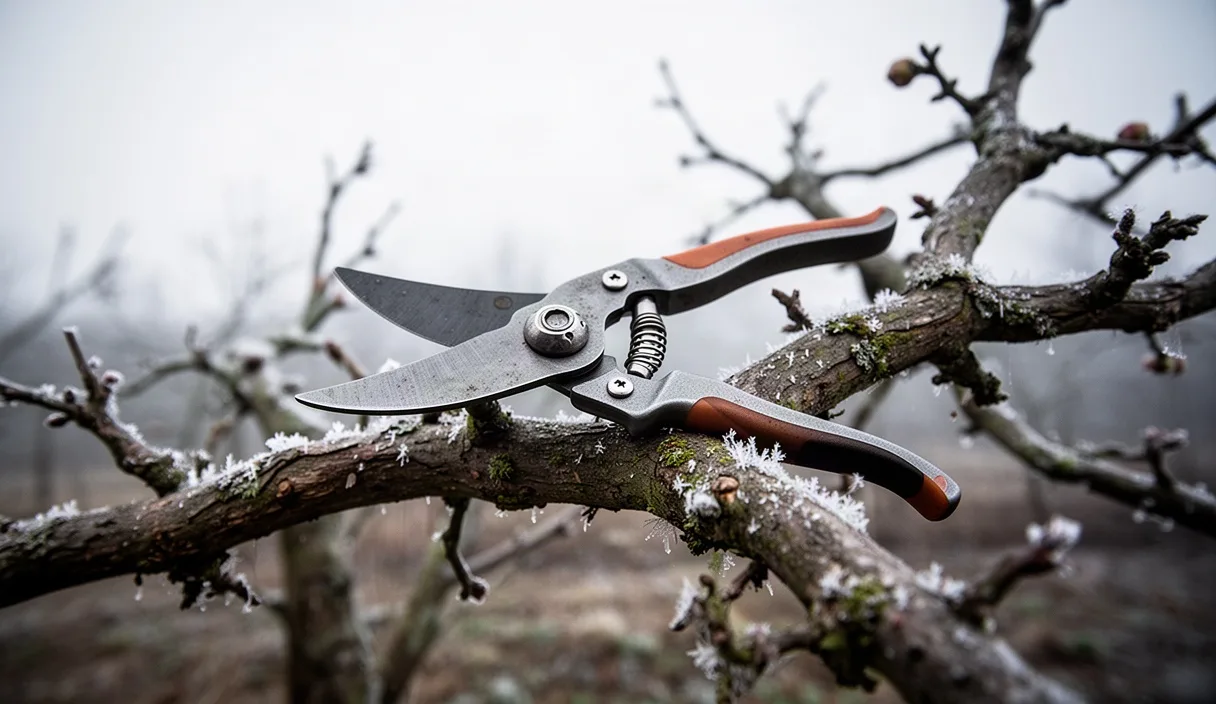
For summer-fruiting raspberries, select the strongest, healthiest primocanes produced during the spring and space them along the wires at intervals of 10cm to 15cm. Aim for around 10 to 12 strong canes per linear metre of row. Any spindly, crooked, or damaged shoots should be cut cleanly away at the crown using sharp bypass secateurs. By spacing them evenly, every cane receives direct sunlight from base to tip, which spurs the development of strong, short-jointed fruiting laterals rather than long, weak, shaded growth.
Always use a biodegradable, natural-fibre twine such as untreated 3-ply jute, sisal, or hemp string. Synthetic plastic twines and green plastic cable ties might seem convenient, but they do not rot down. When you cut out spent canes during autumn clearing, plastic ties drop into the soil or get carried into the garden compost bin, where they persist for decades. Natural jute string provides sufficient strength for a full cropping season, yet breaks down naturally once severed and added to the compost heap.
Tie each cane to the wire using a figure-eight knot. Bring the twine around the wire first, cross it over itself between the wire and the wood, and then knot it loosely around the cane. The crossover creates a small cushion of twine that stops the cane from scraping directly against the rough galvanised steel when wind shakes the trellis. Never bind the twine so tightly that it constricts the cane; allow a pencil-width gap inside the loop to accommodate stem thickening as the season advances.
Improving airflow to prevent grey mould in damp weather
In regions plagued by persistent morning mist, low-lying river damp, or unpredictable summer downpours, mould is the greatest threat to your harvest. Grey mould, caused by the fungal pathogen Botrytis cinerea, thrives in stagnant, humid environments where plant foliage remains damp for six hours or more. The fungus attacks flowers, young green berries, and ripening fruit, turning prime berries into unpalatable, grey, fuzzy mush within forty-eight hours.
A well-tensioned wire trellis is your primary cultural defence against mould, but only if you manage the density of the green canopy. Air must be able to move freely through the middle of the hedge to dry out the leaves after heavy morning dew or sudden cloudbursts. When wind passes through a well-spaced row, relative humidity drops, moisture evaporates from the leaf surfaces, and fungal spores fail to germinate.
- Thin out mid-season suckers: Raspberry crowns naturally throw up dozens of secondary suckers between May and July. Remove weak, late-emerging shoots from the centre of the row with a sharp hoe or shears to prevent a dense, tangled understorey.
- Clear the bottom 30cm: Strip off low-lying leaves and weak small laterals within 30cm of the ground. This ensures breezes sweep beneath the canopy and prevents soil-borne fungal spores from splashing up onto the lower foliage during heavy rain.
- Keep row bases clear of weeds: Grass and broadleaf weeds such as nettles and chickweed hold moisture around the crowns. Maintain a weed-free strip roughly 60cm wide along the base of the trellis, top-dressed with clean, coarse woodchip mulch or well-rotted leaf mould rather than fresh, nitrogen-heavy manure that encourages excessive leafy growth.
- Adopt double-wire separation for heavy crops: For vigorous hybrid berries or thornless blackberries like Loch Ness, consider running parallel wires on 40cm timber crosspieces attached to each post. Tying fruiting floricanes to the eastern wire and training young replacement primocanes along the western wire keeps the two generations completely separated, doubling light exposure and air circulation.
Post harvest cane clearing for the coming season
When the final summer berry has been picked and the days begin to shorten in late August or early September, the trellis requires immediate, disciplined maintenance. Leaving old, spent floricanes tied to the wires through the winter invites fungal dieback, cane spot, and spur blight, all of which will happily migrate onto the fresh green primocanes standing right next to them.
Start by identifying the old fruiting wood. Spent floricanes are easy to spot: they look weathered, dull, dry, and woody, with peeling brown bark and the desiccated remains of fruit trusses clinging to the side branches. In contrast, the current season's primocanes are smooth, bright green or purplish, supple, and devoid of old fruit stems. Take a sharp pair of bypass secateurs, reach down into the base of the crown, and cut every spent brown cane flush with the soil. Avoid leaving 5cm stumps or snags, as these dry out, die back, and serve as infection points for wood-rotting fungi.
Next, untie or slice the old jute twine holding the spent canes to the wires, and carefully untangle them from the trellis. Pull the old canes downward and out of the row slowly to avoid snapping the tips of next year's green shoots or stripping off their buds. If the old canes show dark purple blotches, cracked stems, or signs of fungal blight, do not add them to your domestic compost heap. Take them to a municipal green-waste facility or burn them on an allotment fire when local rules permit, keeping the pathogen cycle completely broken.
With the old wood removed, step back and evaluate the remaining young green canes. Thin these until you have between six and eight of the stoutest stems per root crown. Secure these chosen canes to the bottom and top wires using fresh jute twine, maintaining your 12cm to 15cm spacing. If the canes have grown significantly taller than the top wire, bend them gently over into a graceful arch and tie them down horizontally along the top wire run, or trim them back to roughly 15cm above the top line in late winter. Trimming prevents the tips from whipping in strong winter winds, which can loosen the roots in saturated winter soil.
Common mistakes
Even experienced gardeners make errors that compromise the longevity of their post and wire trellises. Watching out for these common missteps keeps your berry beds durable and productive:
- Underestimating post depth: Sinking posts only 30cm into the soil will lead to leaning posts by year three. Always sink terminal posts at least 60cm into undisturbed subsoil.
- Omitting end-post braces: Wires under strong tension exert continuous inward leverage. Without an angled brace or ground anchor, the top of the end post will slowly bow inward, causing the wires to slacken permanently.
- Using soft or coated wire: Thin plastic-coated wire may seem gentle on stems, but the plastic splits after two winters under sunlight, exposing thin internal steel that rusts and snaps under load. Stick with 2.5mm galvanised steel wire.
- Crowding canes: Tying too many stems to the wire reduces fruit size, delays ripening, and creates ideal microclimates for grey mould. Never tie more than 12 canes per linear metre.
- Ignoring structural safety: When working with heavy wire coils and driving deep timber posts, wear sturdy leather work gloves and eye protection. High-tensile fencing wire can recoil unexpectedly if cut while under tension. If you suspect buried utility lines along your garden boundary, consult a qualified surveyor or utility locator before driving heavy timber posts.
Practical next steps for your berry patch
The best time to active vitality or overhaul a post and wire trellis is during the dormant season, between November and early March, while the plants are resting and the soil is open. Walk down your fruit rows and inspect your existing supports before the ground freezes. Check whether your current posts wobble when shoved firmly, or whether existing wires show excessive sag that cannot be corrected by tightening a turnbuckle.
If you are establishing a new fruit bed, mark out your row running north to south wherever possible. A north-south orientation allows both sides of the vertical hedge to receive equal amounts of morning and afternoon sunlight, ripening berries uniformly from top to bottom. Clear perennial weeds thoroughly along a one-metre wide strip before digging your post holes, as pulling couch grass and bindweed from around established, spiky cane roots later is miserable work.
Collect your materials well in advance: pressure-treated posts, ground struts, 2.5mm galvanised wire, a pair of wire strainers, heavy staples, and a ball of thick jute twine. Getting the framework solidly built and fully tensioned before the buds break in spring ensures your canes have firm, dependable support from their very first day of active growth.
This publication provides general horticultural guidance only: consult your municipal extension office or a certified arborist for persistent orchard blights and soil contamination concerns. Disclaimer