Living above street level changes how you watch the weather. On an open balcony in south London or along a tenement row in Glasgow, the spring wind arrives earlier and bites harder than it does in a sheltered ground-floor plot. Yet shallow-rooted greens do not care about deep subsoil. Rocket, cut-and-come-again lettuces, and peppery Asian brassicas thrive in surprisingly tight spaces, making them the most reliable crops for urban dwellers working with concrete ledges, steel fire escapes, and modest outdoor platforms.
A good salad trough does not demand massive ceramic urns or bags of heavy topsoil lugged up three flights of stairs. With a planting depth of just twelve to fifteen centimetres, you can produce daily pickings of crisp, grit-free leaves from April right through the first November frosts. The work requires an eye for weight distribution, an airy potting mix that drains freely in heavy downpours, and a harvesting method that leaves the plant crown intact for a second and third flush.
Choosing trough dimensions and checking balcony load limits
The first task before hauling compost up the stairs is to understand the carrying capacity of your balcony. Balconies in older brick conversions or purpose-built blocks vary dramatically in strength. Most residential balconies built to modern building standards are designed to support an imposed live load between 1.5 kilonewtons and 2.5 kilonewtons per square metre. That sounds generous, but the weight adds up quickly once you factor in saturated growing medium, drainage trays, timber furniture, and people standing by the railing. If your building is older, or if you rent and do not possess the structural blueprints, consult a qualified surveyor or your building management committee before arranging long banks of planters along an unsupported cantilever.
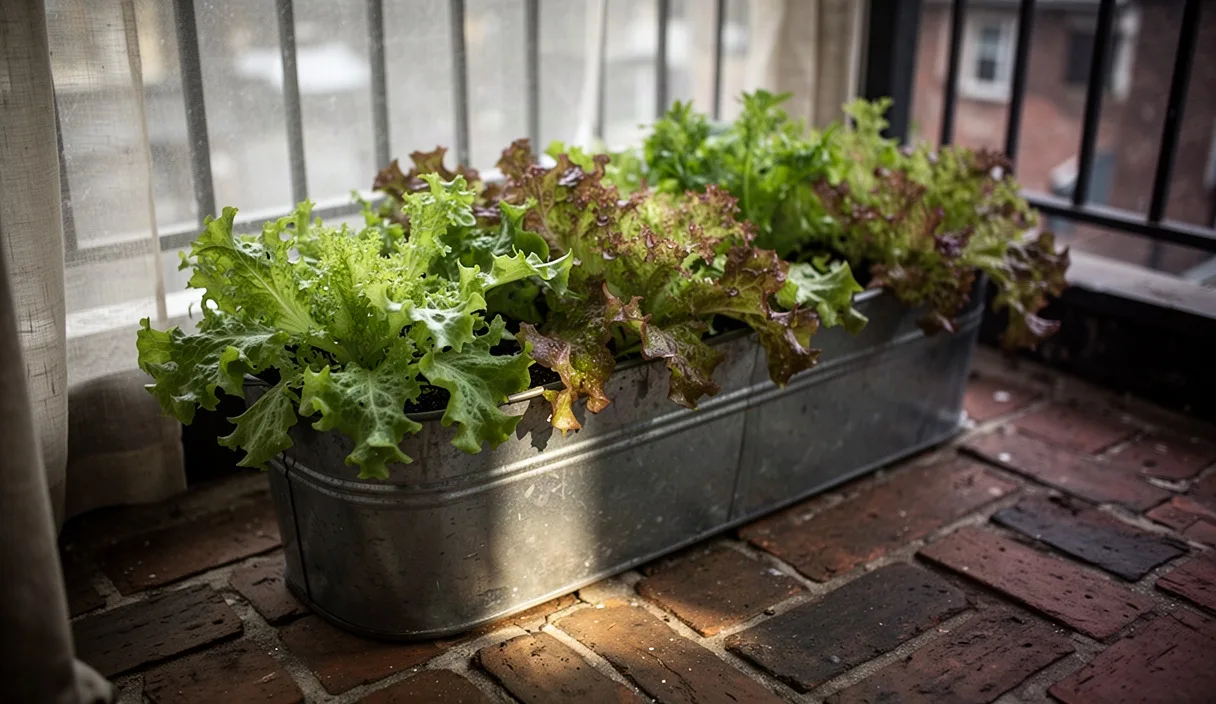
For shallow salad greens, deep tubs are an unnecessary hazard. Loose-leaf lettuces, mizuna, and spinach explore only the top ten to twelve centimetres of soil before spreading outwards. Look for rectangular window boxes or balcony troughs measuring sixty to eighty centimetres in length, fifteen to twenty centimetres in width, and twelve to fifteen centimetres in depth. A planter of this size provides ample volume for root run while keeping the saturated mass well within safe thresholds.
| Planter Material |
Empty Weight (80cm Trough) |
Weight When Saturated |
Thermal Performance |
| UV-Stabilised Polypropylene |
0.8 kg to 1.2 kg |
9.5 kg to 12.0 kg |
Moderate; warms quickly in spring sun |
| Galvanised Zinc Sheet |
2.1 kg to 2.8 kg |
11.0 kg to 14.5 kg |
Heats rapidly in midsummer; chill in frost |
| FSC Cedar or Larch (18mm) |
3.5 kg to 4.5 kg |
13.0 kg to 16.5 kg |
Excellent insulation against root fluctuations |
| Terracotta / Fired Clay |
6.0 kg to 8.5 kg |
16.0 kg to 21.0 kg |
Very heavy; porous walls dry out rapidly in wind |
Place your troughs directly against the load-bearing masonry wall of the flat whenever possible. The structural support is highest where the balcony slab joins the main building envelope. If you hang planters over the railing using metal brackets, ensure each bracket is bolted or clamped tight with rust-resistant hardware, and place a safety tether through the container handles. Never hang planters outward over a public pavement or shared communal courtyard below.
Mixing lightweight compost with perlite for container drainage
Garden soil from a ground plot has no business on a balcony. Ordinary garden loam compacts into a brick-like slab inside a shallow trough, choking young roots and holding onto water until it turns sour. Standard commercial peat-free composts, while environmentally preferable, are often formulated from composted bark, wood fibre, and green waste. These materials can be dense and prone to waterlogging during a typical wet British autumn, which rots the hair roots of delicate lettuces.
To prepare a dependable, featherweight medium, mix your own blend using the following proportions:
- Sixty-five parts peat-free multi-purpose compost, passed through a coarse garden sieve to remove large bark chunks.
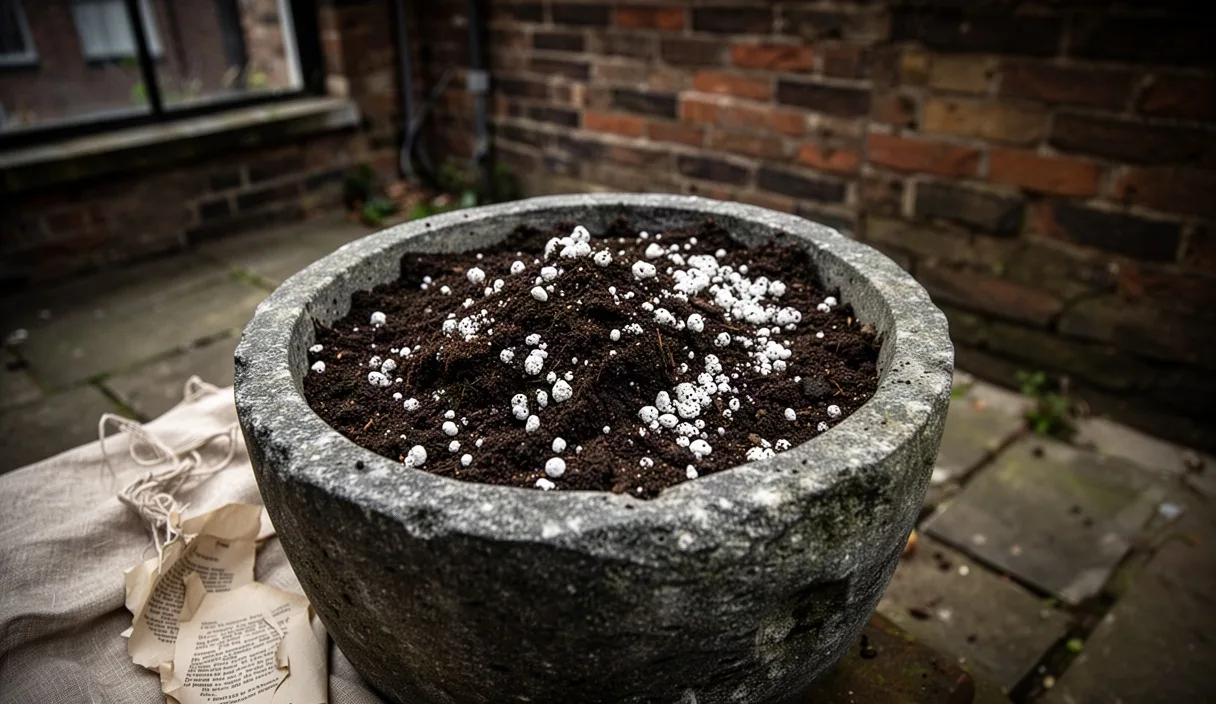
- Twenty-five parts horticultural-grade perlite, which reduces overall weight and introduces permanent macropores for root aeration.
- Ten parts fine coir or well-rotted leaf mould, which maintains moisture distribution across the shallow bed without creating stagnant pockets.
- Two tablespoons of balanced organic seaweed meal per ten litres of mix to supply trace minerals through several cuts.
Perlite is the secret to manageable container weight. It expands volcanic glass into porous white granules that hold three to four times their weight in water while maintaining structural pockets of oxygen. When you moisten the blend, it should feel springy and soft. If you squeeze a handful tightly, it should clump together momentarily before falling apart easily when prodded with a thumb. Fill the troughs to within two centimetres of the rim. Settling will occur after the initial watering, but leaving that small space prevents irrigation water from spilling over the sides and washing compost onto the balcony deck.
Sowing dense ribbons of mesclun and mustard greens
Traditional garden spacing guides tell you to thin lettuces to twenty-five centimetres apart to form dense, heavy hearts. In a shallow balcony trough, that advice works against you. You are not growing crisphead lettuces for storage; you want tender, young leaves for continuous harvesting. Sowing in dense ribbons or bands makes maximum use of every square centimetre of surface area, suppresses wind-blown weed seeds, and keeps the microclimate near the soil humid and cool.
Mark out shallow furrows running the length of the trough using the edge of a wooden ruler or your finger. Keep the furrows roughly eight centimetres apart. A standard twenty-centimetre-wide trough accommodates two parallel furrows nicely. Sow your seeds along these furrows at a density of roughly one seed every centimetre. Cover them with just three to five millimetres of sifted compost or fine vermiculite, and firm down lightly with the flat of your palm so the seed makes good contact with the moist medium.
A balanced mixture provides varied textures and keeps the trough productive through different temperature swings:
- Brassica greens: Red Giant mustard, mizuna, and tatsoi. These germinate within forty-eight hours and laugh at brisk April chills.
- Salad leaves: Oakleaf lettuce, Lollo Rossa, and butterhead varieties like Tom Thumb. They provide a tender base with good leaf volume.
- Piquant additions: Wild rocket, land cress, and chervil. These bring sharp pepper and herbal notes to balance mild leaves.
Keep the troughs in a bright spot out of buffeting wind while seeds germinate. If you are starting your boxes in March, a clear plastic propagation lid or an old sheet of horticultural fleece clipped over the rim with wooden clothes pegs creates a cosy microclimate that speeds up emergence. Remove the cover as soon as the green shoots show their first true leaves.
Bottom watering methods to avoid muddying delicate foliage
Watering shallow balcony planters from above with a coarse watering can creates two distinct problems. First, the impact of water drops dislodges soil particles, splashing gritty dirt into the folds of your tender leaves. Washing grit out of ruffled oakleaf lettuce is frustrating work. Second, overhead watering leaves the dense canopy wet for hours. On balconies shielded by parapet walls, where air movement is low, damp foliage is an open invitation for damping-off fungus, downy mildew, and botrytis.
Bottom watering solves both issues neatly. By allowing the soil to draw moisture upward through capillary action, the root zone receives deep, consistent hydration while the upper foliage and the immediate soil surface remain dry and clean.
Follow this routine to bottom-water your troughs properly:
- Select deep drip trays or saucers that allow your planters to sit flat inside them with at least two centimetres of clearance around the base.
- Pour tepid water directly into the bottom tray rather than onto the compost, filling the reservoir to a depth of roughly fifteen to twenty millimetres.
- Allow the planter to draw water upward through its drainage holes for twenty to thirty minutes. You will observe the surface compost darken as the moisture reaches the top.
- Tip away any standing water left in the saucer after thirty minutes. Allowing container roots to sit permanently in a puddle cuts off oxygen and leads to root death within days.
During hot spells in late June, you may need to bottom-water every morning, especially if the wind off the street is drying the troughs. In early spring or late autumn, once every four to six days is often enough. Lift the end of the trough with one hand: with a little practice, the weight of the planter will tell you precisely how much water remains in the soil.
Harvesting with kitchen shears to prompt rapid regrowth
The cut-and-come-again technique relies on understanding the plant's growing point, known as the apical meristem. In salad greens, this growth crown sits just above the root plate, roughly two to three centimetres above the compost surface. If you hack the greens off right at ground level, you destroy this crown, killing the plant or forcing it to spend weeks attempting to push weak shoots from below. If you cut too high, you leave old, tattered leaf stems that yellow, turn slimy, and attract fungal rot.
Wait until your leaves reach a height of ten to twelve centimetres, which usually takes between three and four weeks from germination during spring. Use a pair of clean, sharp kitchen shears or curved herb scissors. Never tear the leaves off with your fingers, as the tugging action pulls shallow roots free from the loose perlite mix, breaking their contact with the moisture layer below.
Gather a handful of leaves gently with your non-dominant hand and snip straight across, leaving approximately two and a half centimetres of clean stubble above the compost. Work your way down the ribbon evenly. After a cut, the exposed stems will weep clear sap for an hour before sealing over. Within forty-eight hours, fresh, bright green points will begin pushing upward from the centre of the remaining crowns.
Most mixed troughs will yield three full harvests before the plants lose vigour, turn bitter, or attempt to run to seed as summer heat builds. To keep a continuous supply going on a small balcony, run three separate troughs on a staggered schedule: one box ready to harvest, one box regrowing from its first cut, and a third box recently sown with fresh seed.
Common mistakes
- Relying on planters without drainage holes: Pots without drainage holes turn into stagnant swamps during heavy rainstorms. Always use planters with multiple, clear drainage exits at the bottom.
- Letting peat-free mixes dry out completely: Once thoroughly dry, peat-free composts shrink away from the planter sides and become hydrophobic, causing water to run down the edges and out the bottom without wetting the core.
- Sowing in high summer heat: Lettuce seeds enter thermal dormancy when soil temperatures exceed twenty-four degrees Celsius. Sow midsummer crops in full shade, moving them into the light only after sprouts appear.
- Ignoring wind exposure: High-altitude wind strips moisture from wide, tender leaves faster than shallow roots can take it up. Place troughs low behind a solid balcony balustrade to break the draft.
Next steps for your balcony salad plot
To turn your balcony into a dependable salad station, begin by taking a simple inventory of your space. Spend a sunny morning noting where the light falls across your balcony floor and walls; four to five hours of direct sun is plenty for leafy greens, which actually appreciate afternoon shade during the hottest months. Measure the clearest, safest spot near a wall or sturdy rail, and source two matching troughs and deep drainage trays that fit the dimensions comfortably.
Head to a local garden supplier or order online to get a bag of quality peat-free compost, a bag of medium-coarse horticultural perlite, and three packets of seed: one mild lettuce blend, one spicy brassica mix, and one packet of wild rocket. Mix your compost, fill your first trough, and sow your initial ribbons this weekend. By next month, you will be walking out with kitchen scissors to harvest a bowl of fresh leaves while the traffic hums below.
This publication provides general horticultural guidance only: consult your municipal extension office or a certified arborist for persistent orchard blights and soil contamination concerns. Disclaimer