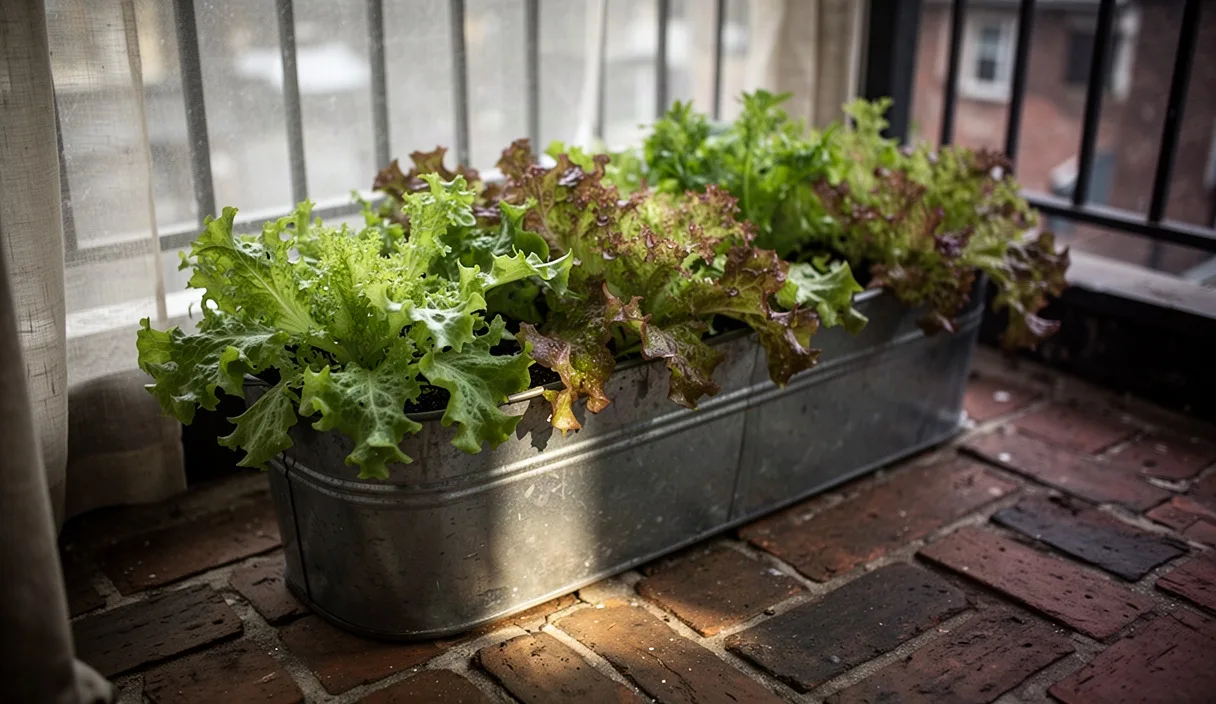
Late February and early March bring a restless itch to the patio. While the tomato seedlings are still trapped on indoor windowsills under grow lamps, the outdoor masonry retains the bite of overnight frost. It is tempting to wait until April before wetting compost outside, but cool season radishes require no such coddling. In zinc troughs, deep window boxes, or recycled wooden crates set along a sheltered courtyard wall, these fast-growing brassicas thrive precisely because the air is crisp. When grown in small city footprints, they offer one of the most reliable early harvests before the summer crops claim the best sunny corners.
The secret to keeping a patio salad bowl supplied from St Patrick's Day through to the first humid days of June is succession sowing. Sowing an entire seed packet on a single Saturday afternoon yields four dozen roots all maturing in the same forty-eight hour window, quickly turning woody and fiery. By dividing your shallow containers into rolling swathes and choosing varieties bred to swell in chilly compost, you can pull a handful of sweet, snappy roots every four or five days without ever overwhelming your kitchen counter.
Selecting quick French Breakfast and globe varieties for cold ground
Not all radish varieties behave identically when the soil temperature sits between five and ten degrees Celsius. High-summer varieties run straight to flower if struck by sudden cold snaps, whereas traditional European spring cultivars direct their early energy downwards into dense, crisp hypocotyl tissue. For tight balcony footprints, you want cultivars that require thirty days or fewer from sowing to harvest, allowing quick pot turnover.
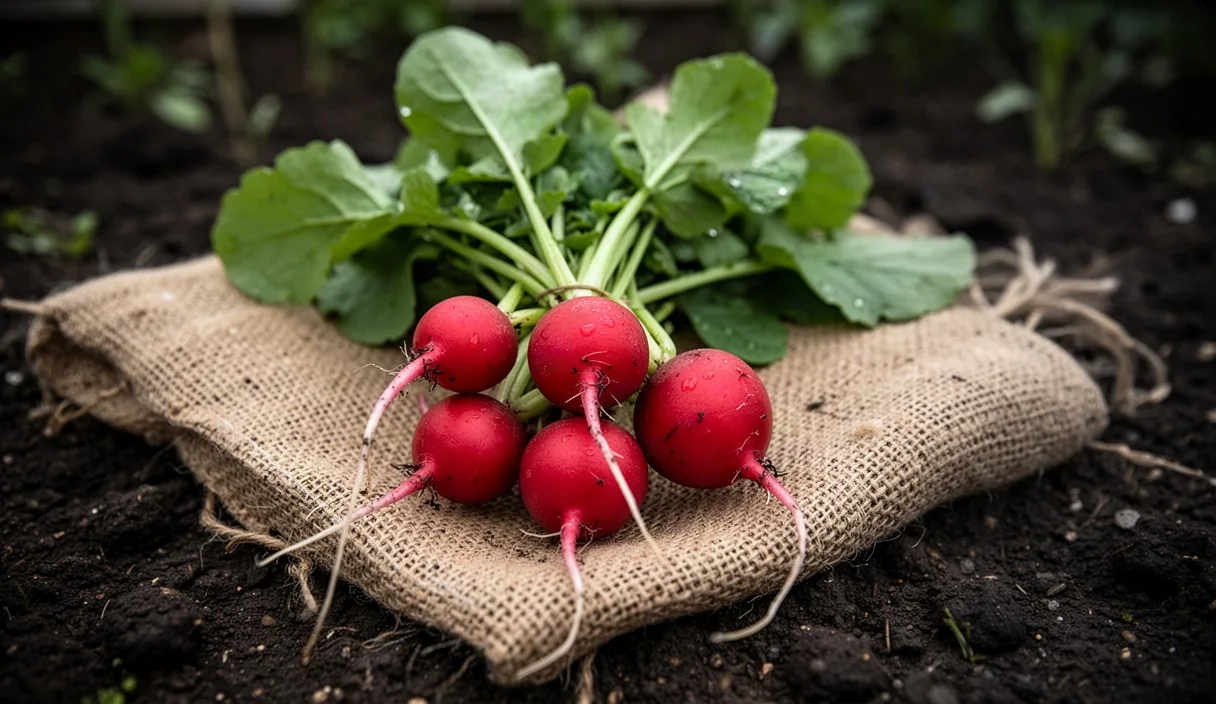
The French Breakfast types, such as 'French Breakfast 3' and 'Flamboyant', are elongated roots with scarlet shoulders and clear white tips. Because their roots grow down into the soil rather than swelling strictly outwards at the surface, they make efficient use of narrow balcony troughs. Their flesh carries a milder mustard oil concentration in cold weather, giving them a buttery, peppery crunch rather than sharp heat. For round roots, standard globe cultivars like 'Saxa 2', 'Cherry Belle', and 'Rudi' germinate rapidly even in the damp, overcast weeks of early spring. 'Rudi' in particular resists pithiness if cold rain stalls growth for a few days.
| Cultivar |
Root Shape |
Typical Days to Maturity in Cold Soil |
Container Depth Requirement |
| French Breakfast 3 |
Cylindrical / Oblong |
24 to 28 days |
15 cm |
| Cherry Belle |
Round globe |
22 to 26 days |
12 cm |
| Rudi |
Round globe |
25 to 30 days |
12 cm |
| Sparkler |
Round with white base |
26 to 30 days |
15 cm |
| White Icicle |
Long tapered carrot-shape |
32 to 36 days |
20 cm |
Avoid winter storage radishes like Daikon or 'Black Spanish Round' for this early spring cycle. Those types require shorter autumn day lengths and considerably deeper root runs, taking between fifty and seventy days to bulk up. Stick to the quickest spring heritage lines to keep your patio pots working on a strict rolling timetable.
Preparing a fine, pebble-free seedbed for straight root expansion
A radish root meets resistance with distortion. When a young taproot pushes into dense, compacted urban garden soil or strikes a sharp piece of uncomposted bark, it forks, twists, or splits horizontally. In container gardening, you have complete control over the physical texture of the growing medium, eliminating the heavy clay and brick rubble often found beneath patio slabs.
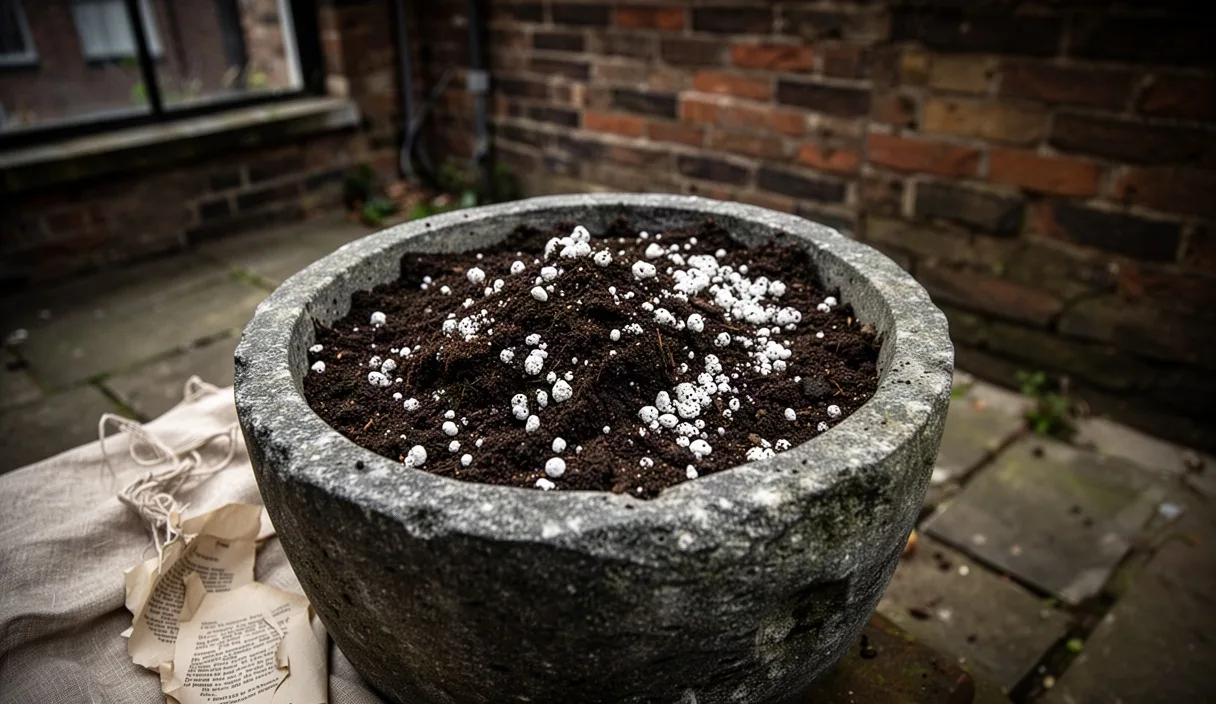
Empty old compost from previous seasons into a trug and tip out any moss or spent root balls from last autumn's bedding. Sift the medium through an eight-millimetre garden riddle or wire mesh to remove compressed clumps and stone fragments. Blend forty parts fine multi-purpose peat-free compost, forty parts well-aerated coir, and twenty parts sharp horticultural sand or coarse perlite. This blend guarantees rapid drainage during grey, rainy spells while remaining loose enough for young roots to expand outward without physical constriction.
Nutrient levels must remain low to moderate. Radishes require very little supplementary nitrogen. High-nitrogen feeds or fresh manure will trigger an explosion of lush, emerald leaf canopies at the expense of root formation. A handful of well-rotted garden compost or a teaspoon of organic volcanic rock dust worked into a ten-litre pot provides ample potassium and phosphorus to encourage stout bulb development.
Firm the prepared mix lightly with the palm of your hand or a clean timber offcut. The soil surface must be level and stable, not loose and fluffy like sifted flour. If the medium is too loose, seeds sink too deep after the first watering; if packed down hard, early roots struggle for oxygen. Water the pot thoroughly with a fine-rose watering can twenty-four hours before you intend to sow, allowing excess moisture to drain away freely so the compost is damp but never cold slurry.
Spacing seeds to avoid crowded, bulb-free foliage
The single most common reason patio radishes fail to bulb, producing stringy white threads underneath massive green tops, is overcrowded sowing. Radish seeds are small and easily tipped out of seed packets in thick ribbons. When seedlings sit within a finger's width of each other, their leaves overlap, triggering a shade-avoidance response. The plant interprets the crowding as competition from neighbouring weeds, diverting all its carbohydrate stores into growing taller leaf stalks instead of storing sugars in a swollen hypocotyl.
Station sowing by hand prevents this waste. Avoid broadcasting seeds across a wide pot surface. Instead, create parallel drills across your trough spaced eight to ten centimetres apart, pressing the edge of a wooden ruler into the compost to an exact depth of twelve millimetres. Drop single seeds along the drill at intervals of three to four centimetres. This small gap provides enough clear air and light around the base of each crown to stimulate root thickening from the second week after emergence.
- Mark your drills across the trough using a timber lath, keeping rows eight to ten centimetres apart.
- Place individual seeds by hand at three to four centimetre intervals along each furrow.
- Draw a thin layer of fine compost over the furrow to a depth of roughly ten to twelve millimetres.
- Gently tamp down the surface with the flat of your hand to ensure complete contact between seed coat and moist soil.
- Label the row with the variety name and sowing date using a waterproof pencil.
Thinning should be viewed as an emergency measure rather than standard practice. Pulling unwanted seedlings out of cold compost disturbs the delicate root hairs of the neighbouring seedling you intended to keep, which can cause misshapen roots. If seedlings do emerge in tight clusters, clip the unwanted stems at soil level with sharp kitchen scissors instead of tugging them upward by hand.
Regulating water to stop sudden cracking after spring showers
Radish roots are roughly ninety parts water. Their skin expands steadily when moisture levels in the root zone remain uniform. The classic patio hazard arrives in mid-spring, when a bright, breezy afternoon dries out the top three centimetres of a shallow plastic pot, followed twenty-four hours later by a sudden, drenching spring squall. The dehydrated root cells pull in water far faster than the outer epidermal skin can expand, causing the radish to split open vertically from root tip to leaf neck.
Split roots remain edible if picked immediately, but soil microbes enter the fissures within hours, turning the sweet white core into brown, bitter mush. In exposed courtyard or balcony settings, wind increases evaporation rates significantly faster than in sheltered garden plots. Check the moisture level daily by pushing an index finger two centimetres into the compost. If the mix feels dry at the tip of your nail, give the pot a gentle, even soak.
Drainage holes must remain completely clear. Balcony pots sitting flat on concrete or stone flags can seal against the surface, trapping cold water at the base of the container. Raise troughs onto terracotta pot feet, timber laths, or flat pebbles to let gravity pull standing water away. If prolonged, cold downpours are forecast for three consecutive days, pull shallow window boxes back against the shelter of the house wall, beneath window eaves, to prevent waterlogging.
Adding a half-centimetre mulch of fine horticultural grit or chopped clean straw across the soil surface between rows stabilizes moisture evaporation. This protective crust reduces soil splash during heavy downpours, prevents crusting on the surface, and maintains an even soil temperature throughout unpredictable March days.
Pulling roots early for crisp texture and mild heat
A radish gives clear visual notice when it reaches culinary prime. The shoulders of the root heave themselves upward out of the soil, exposing the red or bicoloured top around the base of the foliage. Begin checking French Breakfast types once the visible crown reaches the width of a small coin, roughly fifteen to eighteen millimetres across. Globe varieties are at their peak when they measure between twenty and twenty-five millimetres in diameter.
Leaving radishes in the ground to grow as large as golf balls is an error. Large, aged roots develop hollow, spongy centres known as pithiness. As temperatures rise in late spring, the plant prepares to send up a tall flowering spike, diverting water and starch away from the bulb and accumulating intense, sulfurous glucosinolates that give old roots an unpleasantly harsh, burning finish.
Harvest during the cool of the morning when the roots are fully turgid. Grasp the leaf cluster firmly at the absolute base where it joins the root shoulder, and lift straight upward with a steady, smooth pull. Wiggling the plant sideways can bruise the outer skin against container walls. Rinse the clinging compost away in a bucket of cold water, and immediately twist off the leaf tops. Leaving the green foliage attached after pulling draws moisture out of the root within hours, leaving you with rubbery radishes before dinner.
Do not discard the young, green radish leaves if they are clean and free of yellowing. The foliage has a pleasant peppery bite similar to rocket or watercress. Wash the greens thoroughly and shred them into early salads, wilt them with butter and garlic, or blitz them into a vibrant spring pesto alongside pine nuts and hard cheese.
Common mistakes
- Sowing the whole seed packet at once: Results in dozens of roots maturing together, leading to woody waste. Sow a small pinch every ten days instead.
- Feeding with synthetic high-nitrogen liquid fertilizers: Stimulates massive foliage canopies while leaving taproots as thin as sewing needles.
- Letting containers dry out between waterings: Fluctuating soil moisture causes internal pressure changes that crack the roots open along their flanks.
- Leaving mature roots in the pot: Cold-season radishes pass their crisp prime quickly; once they reach the size of a five-pence piece, pull them without delay.
- Sowing in shaded balcony recesses: Radishes tolerate cold weather, but they need bright light. Place troughs where they receive at least five hours of direct sun daily.
Starting your rolling harvest
To establish a continuous picking cycle on a terrace or balcony, treat your growing area as a calendar. Choose two rectangular troughs measuring at least sixty centimetres in length. Sow half of the first trough this weekend with a reliable early cultivar like 'French Breakfast 3'. Ten days later, sow the second half of that same trough. When the first seeds in trough one show their third true leaf, sow the first half of your second container.
Keep a sheet of horticultural fleece or an old net curtain handy. If an unusually harsh overnight freeze threatens to drop balcony temperatures below minus three degrees Celsius, drape the fleece over the troughs before sunset. The roots will emerge crisp, snappy, and clear-flavoured, giving you a steady harvest to dress your early spring plates straight from the stone flags outside your door.
This publication provides general horticultural guidance only: consult your municipal extension office or a certified arborist for persistent orchard blights and soil contamination concerns. Disclaimer