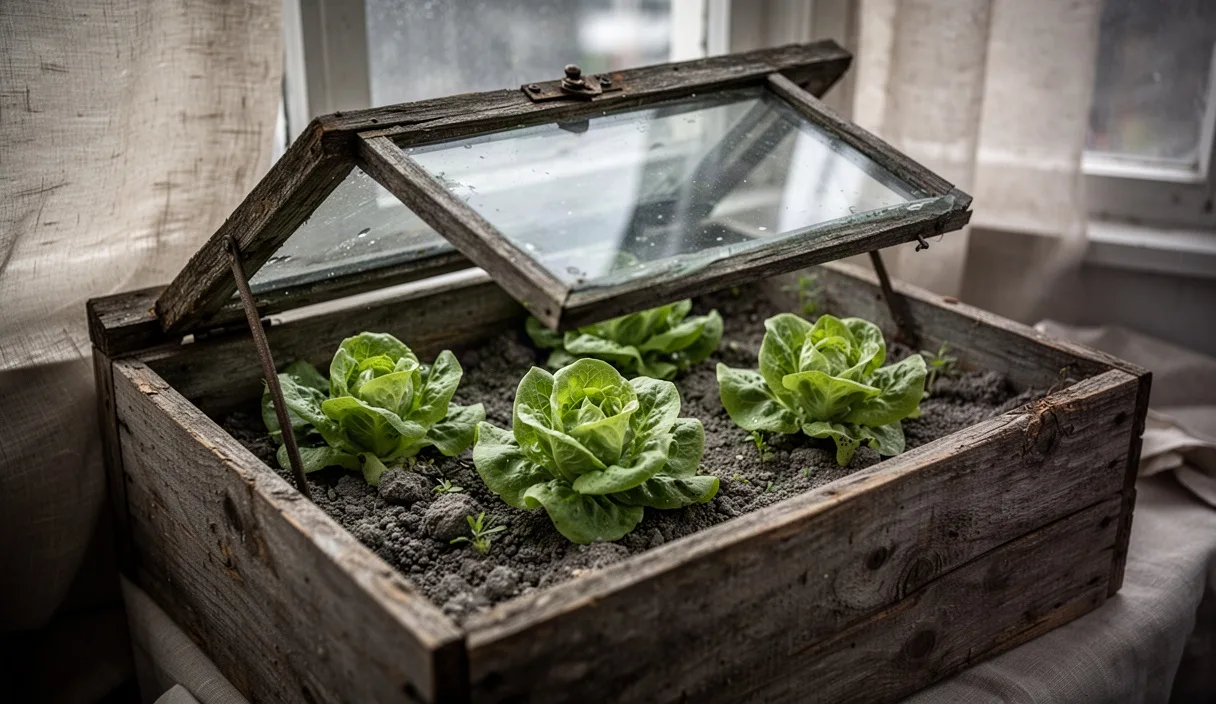
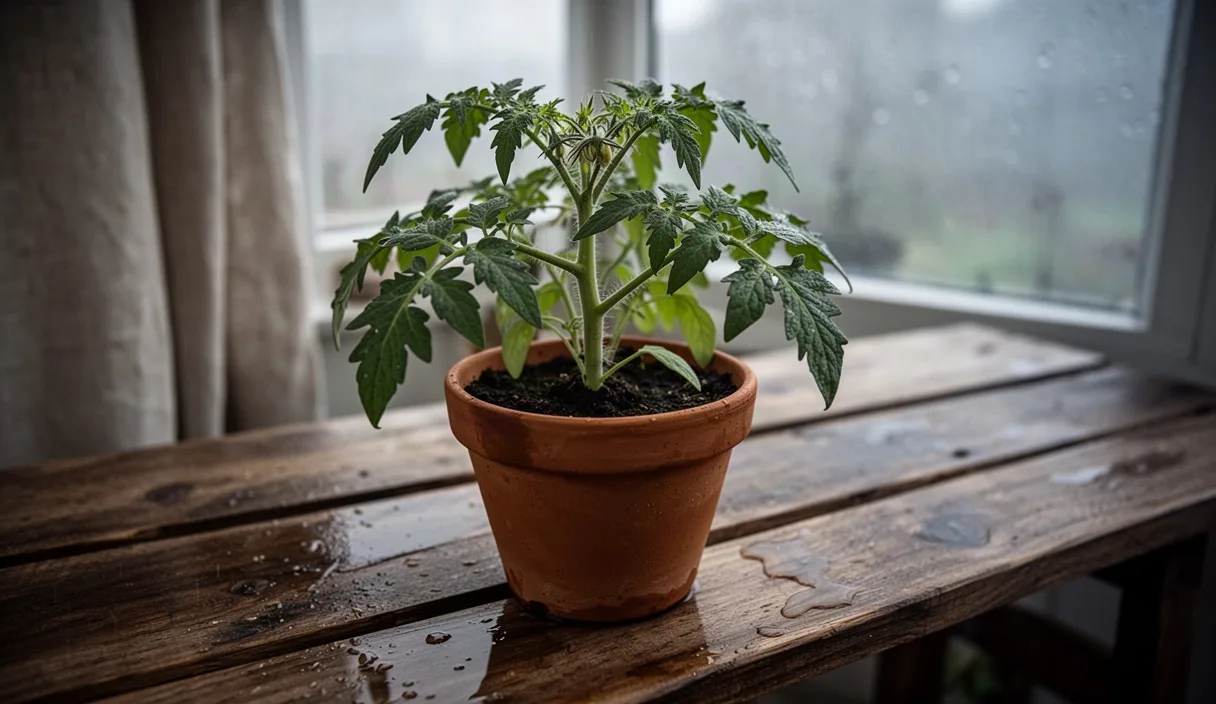
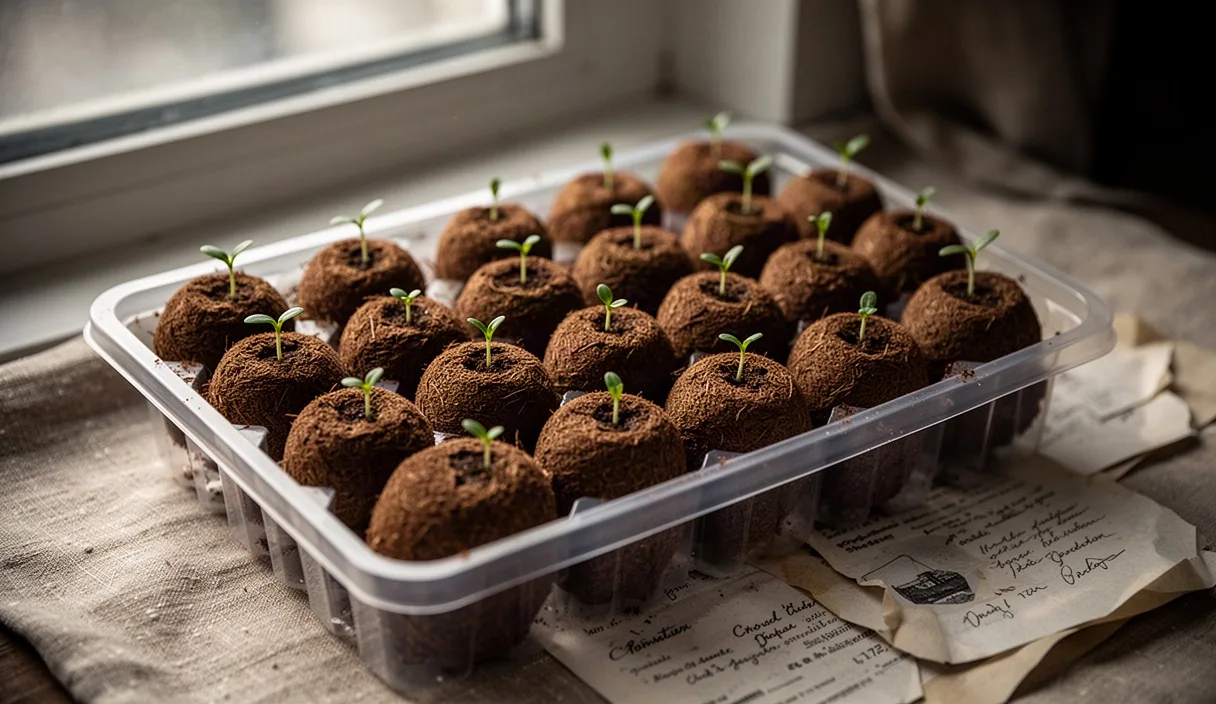
Every April across our terrace gardens and allotments, the same quiet tragedy plays out. Seed trays filled with butterhead lettuce, red mustard, mizuna, and tender baby chard spend six coddled weeks sitting under warm indoor lights or upon deep kitchen window sills. They look lush, vibrant, and ready for the earth. Yet within forty-eight hours of being turned directly out into cold allotment beds, their soft stems buckle under the damp westerly winds, their foliage bleaches into translucent paper, and a light overnight ground frost turns weeks of patient labor into sodden mulch.
Acclimating indoor-grown greens to the brutal reality of an early spring climate cannot happen overnight. Between the soft warmth of a hallway grow table and the cold, scouring reality of damp soil lies a biological transition known as hardening off. Taking the time to prepare your brassicas, chicories, and lettuces for the unpredictable bite of late seasonal chills preserves root volume, prevents cellular collapse, and sets your kitchen plot up for consistent picking straight through until summer.
The physiological shifts inside hardened plant tissue
When tender greens live indoors, they build tissue optimized for conditions that never change. Stems stretch easily toward constant light, leaves remain thin to maximize photon capture under modest illumination, and root cells remain loose and porous because water is never scarce. Moving these soft plants directly into outdoor conditions shocks them on a biochemical level. Hardening off triggers a sequence of survival responses that fundamentally alters the architecture of the plant before cold weather hits.
The primary change occurs at the cellular level within leaf margins. Cool ambient temperatures, combined with light mechanical stress from passing breezes, prompt the plant to accumulate higher concentrations of soluble carbohydrates, mainly sucrose and glucose, inside the cytoplasm. These sugars act like natural biological antifreeze. By raising the solute concentration within individual cells, the plant lowers the freezing point of its intracellular fluids, preventing ice crystals from piercing cell walls when temperatures dip toward the freezing mark.
Simultaneously, the transport of water slows down, and structural proteins strengthen the periphery of every cell. Plant hormone distribution changes; gibberellin synthesis drops, which halts rapid, spindly upward elongation, while abscisic acid levels climb. This shift directs the plant's resources away from lush top growth and into structural integrity. Stems thicken, cell walls deposit secondary layers of cellulose, and the vascular bundles that move nutrients become sturdier and far less prone to snapping under sudden squalls.
| Plant Component |
Indoor Seedling Status |
Hardened Outdoor Status |
| Epidermal Cuticle |
Thin, permeable, low wax volume |
Thickened layer with dense lipid deposits |
| Cell Sap Concentration |
Dilute, high water content, freezes easily |
Dense with sugars, lower freezing threshold |
| Stem Geometry |
Elongated, hollow, brittle cellulose |
Stocky, compact, high lignin support |
| Stomatal Response |
Slow to close under wind stress |
Rapid closure conserving tissue moisture |
Choosing the best sheltered porch corner for initial exposure
The first outing into the open air should never be an immersion into the middle of the garden patch. Tender greens need an intermediate microclimate that tempers the worst of the elements while gently introducing real atmosphere. A covered back porch, an open lean-to, or the recessed doorway of a brick outbuilding offers the precise refuge required for these initial trips outside.
Look for a corner that shields plants from the prevailing northern and western draughts. In our neighborhoods, spring winds tend to rip around chimney corners and down narrow passages between terraced houses, creating wind tunnels that despoil delicate foliage within minutes. Positioning your seed flats against an unpainted, south-facing or east-facing masonry wall provides two mechanical advantages: it blocks these sudden gusts, and the stone or brick absorbs ambient thermal energy during daytime hours, slowly re-radiating that warmth back into the seedling trays as the afternoon fades.
Keep your seedling trays elevated off bare concrete flagstones or cold paving. Setting flats directly on stone draws precious heat out of the bottom of the root plugs via conductive cooling, chilling the roots long before the air temperature drops. Use wooden slatted benches, upturned milk crates, or an old timber pallet to keep the flats at least six to eight inches above the ground. This elevation maintains air circulation beneath the root zone and prevents pooling cold air from gathering around the base of the tender stems.
Graduating from indirect light to direct sun over seven days
Even the strongest LED grow lights fail to replicate the full spectrum and intensity of raw outdoor sunshine, specifically ultraviolet wavelengths. Moving tender greens into open sunlight without a gradual ramp-up causes immediate photo-oxidation. The chlorophyll degrades, turning leaves silver or chalky white within hours. A seven-day graduated timetable allows the epidermal cells to develop protective pigment screens without sustaining sunburn.
- Day One: Set the trays in full, bright open shade, tucked beneath an awning or porch roof, for two hours during the warmest midday stretch. Bring them indoors to their original growing area before the late afternoon chill settles.
- Day Two: Provide three hours of exposure in full shade. Ensure the location receives dappled or reflected light rather than direct rays, allowing the stomata to adjust to outdoor humidity swings.
- Day Three: Grant the plants four hours outdoors, introducing them to thirty minutes of gentle, direct morning sunlight before returning them to bright shade for the remaining time.
- Day Four: Extend outdoor time to six hours. Position the flats to catch two hours of morning sun, followed by four hours of dappled afternoon light. Monitor the soil surface for rapid evaporation.
- Day Five: Leave the flats out for eight hours, exposing them to direct sunshine from mid-morning through early afternoon. If plants show no signs of wilting, leave them outside until dusk.
- Day Six: Keep the greens outdoors for twelve hours, covering the entire daylight span. Move the trays out into the open garden bed area where they will eventually be planted.
- Day Seven: Allow the trays to remain outside overnight for the first time, provided local forecasts do not predict freezing temperatures below minus one degree.
Keep a keen eye on broad-leafed varieties like butterhead lettuce and pak choi throughout this progression. If the foliage begins to curl downward or takes on a dull, greyish cast, pull the trays back into deeper shade immediately. Sunburn cannot be cured once the tissue turns white, but minor stress caught early can be reversed with a quick return to gentle indirect light.
Water rationing techniques to toughen leaf cuticles
Gardeners often equate love with frequent watering, but consistent moisture is the enemy of cold resistance during the final weeks of seedling life. Plants supplied with endless water grow tall, soft, and watery. To force greens to develop a thick, protective waxy cuticle on their outer leaf layer, you must introduce controlled, measured moisture deficits.
Begin rationing water approximately five days before seedlings begin their outdoor journeys. Instead of soaking the trays whenever the surface soil feels slightly dry, wait until the plants display the faintest sign of thirst. The leaves will lose their high-gloss sheen and take on a matte texture; the outer leaves may droop slightly, though stems should remain upright. At this precise moment, apply just enough water to wet the bottom third of the soil plug without thoroughly saturating the entire cell.
This deliberate, minor drought stress triggers the epidermis to produce cuticular wax, a glossy mixture of long-chain fatty acids and hydrocarbons that coats the leaves. This wax layer acts as a mechanical barrier against moisture loss in dry outdoor winds, and it prevents frost crystals on the leaf surface from nucleating into the inner tissues. When watering during this toughening phase, always water the base of the soil cells in the morning. Avoid wetting the leaves directly, as damp foliage combined with dropping dusk temperatures encourages fungal damping-off and botrytis rot.
Emergency shelter tactics for sudden cold snaps
Spring weather is notoriously fickle. You may be four days into a disciplined hardening-off schedule when an arctic air mass sweeps south, driving temperatures down well below freezing. When a hard freeze threatens your half-acclimated greens, relying on wishful thinking will leave you with blackened trays. Have an emergency shelter protocol prepared before the weather vane shifts.
If temperatures are forecast to drop between zero and minus two degrees, an unheated cold frame or an inverted plastic storage tote provides adequate thermal buffering. Drop the lid over the plants before the sun dips below the horizon, capturing the daytime warmth trapped within the surrounding soil and masonry. If using lightweight horticultural fleece, do not simply drape a single layer over the foliage; moisture can wick through where the cloth touches tender leaves, freezing them directly to the fabric. Use wire hoops or scrap lath to suspend the cloth two inches above the crowns, and layer two sheets together for an extra two to three degrees of frost protection.
For unseasonable cold snaps that drop below minus three degrees, outdoor shelters will not suffice for partially hardened stock. Move the trays into an unheated garage, garden shed, or cold mudroom for the night. Do not bring them back into a warm twenty-degree living room or kitchen. Moving plants back and forth between freezing outdoor air and high indoor heat disorients their hormonal signaling, rapidly unraveling the cold tolerance they have spent the previous week acquiring. Keep them in a cool, sheltered indoor space between four and eight degrees until the front passes, then resume their outdoor schedule.
Common mistakes
The most frequent error is rushing the schedule after two unseasonably warm, sunny days. It takes nearly a week for cellular walls to deposit sufficient lignin and cuticular wax; eighty hours of unseasonable warmth will not accelerate that underlying biology. Skipping from shade to midday direct sunlight within forty-eight hours almost always results in leaf burn and stunted root expansion.
Another widespread mistake is overfeeding seedlings with high-nitrogen liquid fertilizers during the hardening-off window. Nitrogen encourages quick, soft vegetative growth composed of thin, highly hydrated cells. Feeding greens during this period completely counteracts the water-stressing and cellular-thickening process. Cease all liquid feeding ten days before your target transplanting date, resuming only after the greens have been settled into their permanent beds for at least a week.
Finally, many growers ignore wind speed, watching only the thermometer. A dry eight-degree breeze can desiccate and kill unhardened brassica seedlings faster than a calm, still zero-degree dawn. If wind speeds climb above fifteen miles per hour, keep your seed trays behind physical windbreaks regardless of how mild the ambient air feels.
Next steps for the allotment and garden patch
Once your tender greens have successfully navigated seven full days of acclimation, including a calm night spent entirely outdoors, they are ready for their permanent beds. Check your soil conditions before reaching for the trowel; if the soil is waterlogged and clumps into heavy, cold balls when squeezed, wait two or three days for it to drain. Forcing transplants into freezing, anaerobic mud halts root respiration and erases the benefits of careful hardening.
Plant out on an overcast afternoon or during a calm, drizzly morning. This spares the young plants the immediate stress of direct overhead sun while their disturbed root hairs re-establish contact with the surrounding earth. Firm the soil gently around each root plug to eliminate air pockets, and water them in with plain, unfertilized water drawn straight from an outdoor butt so the root zone experiences no temperature shock.
Keep a roll of medium-weight fleece and several wire hoops folded beside the garden beds throughout the following three weeks. Even properly hardened greens appreciate a temporary canopy during unusual late-season squalls, ensuring uninterrupted growth and an abundant, crisp harvest through the cool weeks ahead.
This publication provides general horticultural guidance only: consult your municipal extension office or a certified arborist for persistent orchard blights and soil contamination concerns. Disclaimer